Back To School with Maggie Mae!


I’ve spent a lot of time the past few months working on school clothes for my first child in kindergarten.  I was not ready for my BAAAAAABY to be in kindergarten AT ALL.  Not ready to not have her all day.  Not ready for her to be more independent.  Not ready for parent homework.  With all the things I wasn’t ready for, I was determined to be ready for one thing: that child of mine was going to look fabulous.  I combed  all of my patterns looking for ones with sleeves (there’s a 3” strap rule which is basically sleeves on a 5 year old) and got to work.  One of my go-to patterns for a successful sew is the Maggie Mae by Shwin.  I made two for school and I love them both!


The first I made was a tunic length.  There’s also a “no leggings as pants rule”, so I had to make sure it looked good with jeans.   Seriously...these rules.  SO MANY RULES.  I had a rule of my own- I had to use my stash.  We do not have any disposable income right now, so stash busters were a MUST.  I had some of this leftover Cherry Print that I’ve used for a bunch of stuff and I found an old dress I hated and used the grey skirt for the yoke.   BAM!  One top down and my awesome factor is UP!


I decided to make a dress version as well.  Kids grow up and need to be “cool” so quickly.  I’m DEFINITELY not ready for that, so I’m keeping her young as long as she lets me.  I was given this AWESOME gnome fabric that I’ve been obsessing over for a year and I knew I needed it for something.  I paired it with a sparkle denim and YEP!  This one’s for all my Gnomies. This dress started out as a different pattern, but my daughter complained that the bodice was “too itchy”.  Whiner.  (But it totally was itchy).  I decided to go back to Maggie Mae and it was better.  Muuuuch better.  The only thing I changed , really, was the skirt.  I made a wider skirt and gathered it, rather than using the slimmer and pleated version that comes with the pattern.  I also made  a white sash and a denim flower for that Papow!  My girl even wore it to picture day!  Maggie Mae saves the day!  But I’m, at the very least, her sidekick.  But like a sexy sidekick that everyone likes and invites to parties because no one wants to be Robin...


Anyway, I hope you like two of my school looks.  There have been a lot more and you’ll get to see at least 2 of them next week...ALLSPICE WEEK.  WOO HOO!!!

-Crystal-

DIY Mail Sorter

This month with my mommy friends we decided to do a mail sorter as our monthly craft.  So far we each have way different methods and will each have a very different product all to solve our piles of mail problem.  I can't wait to see what they create.

If you are anything like me, you are a piler.  You have a pile for mail, a pile for the magazines, a pile for crafty stuff, a pile for shoes... well you get the idea.  Now my piles are much more organized than say back in my high school and college days-- thank goodness for fabric bins which contain my "piles"-- and we won't talk about all the piles of papers I had back when I was a teacher...  But with the variety of mail we get flyers, magazines, bills, personal notes, junk mail, and random bits of paper with our names and address on them... our mail pile has taken over-- taken over the counter, the dining room table, the desk.  AND it comes everyday, except Sunday.  There's no post on Sunday... good thing we aren't witches/wizards who can get owl post every day of the week.  Actually scratch that I'd rather be a witch and get mail every day of the week.  I'd have a wand and magic to help me with all my boring day to day chores.

Anyway while I pout that yet again I didn't get to head off to Hogwarts this past September 1st let us get back to this mail issue.  In short, we have not come up with a good system since moving into this house.  Our system as it stands... it piles.  We get sick of the pile and sort.  Things get thrown out and other things get shredded and other stuff finds a new pile to be filed.


Growth Chart Inspiration

Story time!

Once upon a time, Viever was a newlywed.  A newlywed with a bad case of baby fever.  She found other women who shared in her baby fever and desire to plan for a baby.  She joined the group known as "Waiting to Conceive" (or at least that's what she thinks the groups name was... maybe there was a year in there too) on the BabyCenter Community Boards and got to know a group of women: some moms already and some hoping for their first bundle.  All of whom were planning and waiting.  Fast forward five maybe six years and with all the babies born to the group, moves,  other life changes you'd think that maybe this online group would have broken up after those babies we were all waiting for showed up.

Nope, our group changed: support for those days where you feel like you are the worst mommy in the whole world, a think tank for surviving toddler antics, a place we were safe to exchange ideas and help out the fellow mommy.  It is our chosen village to help raise our children though we are spread far and wide across the US.

So why do I bother telling you this tale?  Because one of these fabulous Mamas (looking at our resident fasionista mama Misty) decided to put out a monthly "Craft Call."  Last month they joined me in my making of a growth chart ruler and those who participated have graciously decided to let me nab their pictures for an inspiration post of sorts.

You all saw my version a few weeks ago.  Well they came up with their own twists on making this growth chart their own.

I'll start with Amber who I mention as my inspiration to get my butt into gear and finally make the growth chart I lusted at while at a craft fair.


She painted over the whole board and used the vaseline distress method (she warns: A LITTLE goes a LONG way) to get the look she wanted.  She also freehanded the numbers and lines (after measuring of course) to give it more character.  To mount her board, her husband screwed in the board to the wall.


Misty is our fearless leader in heading up our monthly craft call.  For the month of August when she made her first inquiry to see if we'd be interested it just so happened that I was in the middle of this project and it was embraced.


Misty decided to go with chalkboard paint for her main surface.  The two sides of the board are painted in colors that match her living room decor.  She then used the transfer number portion of my tut to trace outlines of her numbers to her board and then hand painted in the lines getting just the look she wanted.


She took her board a step further in personalizing it for her living room space and family by add their initial to the top and painting in the flowers in colors matching her living room decor.  Her original idea was to use some custom wallpaper in that top space but once it arrived she changed her mind.


Next we have Alison.  She decided that she wanted to use some of her scrapbook papers and decoupage cut out numbers to her board.

One change she says she would do if she had to make it again would be to chose different papers for more contrast but I must say that I do like her choices!
                              

Finally we have Jennifer.  She bought an electric sander (who can blame her hand sanding with three little ones running around sound to be no fun) and used vinyl numbers for her board after getting the staining just to the color she wanted.

And there we have it.  One project.  4 different ways of making it our own.  Have you made one of these charts?  From our tutorial or the many others available online?  We'd love to see it!

CraftingCon Sew Along: Avengers Month

It's Avengers month over at CraftingCon.  I'm not a big comic book geek, but I do like a good action movie hunk.  So making Superhero goodness was perfectly fine with me.  I decided to do a two-fer and make some matchy-matchy sister/brother looks.  I'm digging the awesome here!


Ok, I know TECHNICALLY it's not Avengers, BUT we all know they made this fabric after Marvel and DC.  Let's not pretend here.  There are like 3 Captain America versions on this fabric so yeah.  I'm counting it!

For my girl hero, I made the new AllSpice dress being released by Paisley Roots on September 1st 2014.  Stalk her shop...you want to. Don't-cha love the pintucks?  All heroes need pintucks.  There will be more about this dress next week...stay tuned!


For the boy, I made the bowling shirt by Scientific Seamstress.  My boy has JUST entered the 3/4 size range and as much as I'm in denial, it's true.  Mommy's little crime fighter is growing up.  ::Sniff:::Sniff::


FYI these outfits are perfect for using your super powers, whether it be the power of flight or the power of KUNG FU!  KAPOW!


And because Avengers don't just work alone...


-Crystal-

Back to School Button Down

My little boy starts Pre-K on September 1st which seems SO late compared to what we are used to!  Back in California we would have already started and had a few weeks under our belt.  In any case, S is VERY excited to get back to school so he can make some more friends.

The last time I did a fabric splurge, S picked out this camouflage dinosaur fabric that was on the discount table.  When we got home S was all excited for me to make something for him.  Sad for him that I still had a tester on my sewing table for his sister.  Quickly finished that up and then started looking through my patterns.

I found my Sis Boom Ethan I was looking for and downloaded it so I could get started right away.  To my surprise I also found 3 other patterns (Katie Fancy Pants, Judy Fancy Pants, and Tommy Boxers) I purchased during one of the sales that I forgot I had purchased!  I know what I'll be sewing up for the kids, Mr. Viever and myself in the next few weeks!


Wooden Ruler Growth Chart DIY/Tutorial

I have wanted one of those ruler growth charts since Mr. Viever and I saw them at a "hometown fair." We looked at them and both loved them but couldn't bring ourselves to spend the $80 on it when we were fairly certain it could be something we did on our own.  Two kids and several years later.  I finally got to making it.  Partially, because I was reminded on our move up to Seattle while staying at a friend's house who had theirs hanging in their hallway (looking at you Amber).

Materials used for this project (alternative ideas at the bottom)
8ft x 9in x 1.5 in wood board
150, 180, and 220 grit sandpapers
Cloth diaper/rag
Varathane Stain + Ploy in Golden Oak
Gloves
Behr Weather Proofing Wood Stain & Sealer in Grey
Behr Marque in an Aqua/Robin Blue
Small Paint brushes
Rust-Oleum Ultra Cover Clear Gloss Spray Can
D rings
Paper/Printer


It's Parfait-tay Time!


Things are busy for us during the summer over here at That’s What She Crafted and projects take a back seat to vacations and back to school shenanigans.  With all of this busy-ness, one needs a sweet escape every once in a while.  I like my desserts to be super delicious and super fast to make.  Today, I’m going to share a snack recipe with you because it’s my Parfait-ty and I’ll bake if I want to.  Whomp whooooooomp.


This raspberry cheesecake pudding parfait is made up of things you prepare one time and assemble and enjoy throughout the week.  You can change it up in true parfait fashion switching pudding flavors and pie fillings, but this is the combination that I ADORE.   We’ll start with the simple stuff: Raspberry Pie filling and Cheesecake flavored pudding.


Open a can of Raspberry pie filling and place in the refrigerator in an airtight container.  I leave it in overnight to get it nice and chilled. 

Prepare one package of Jello brand cheesecake flavored pudding- stovetop or instant- per the directions on the box.  Cover and place in the refrigerator in an air tight container until well chilled.

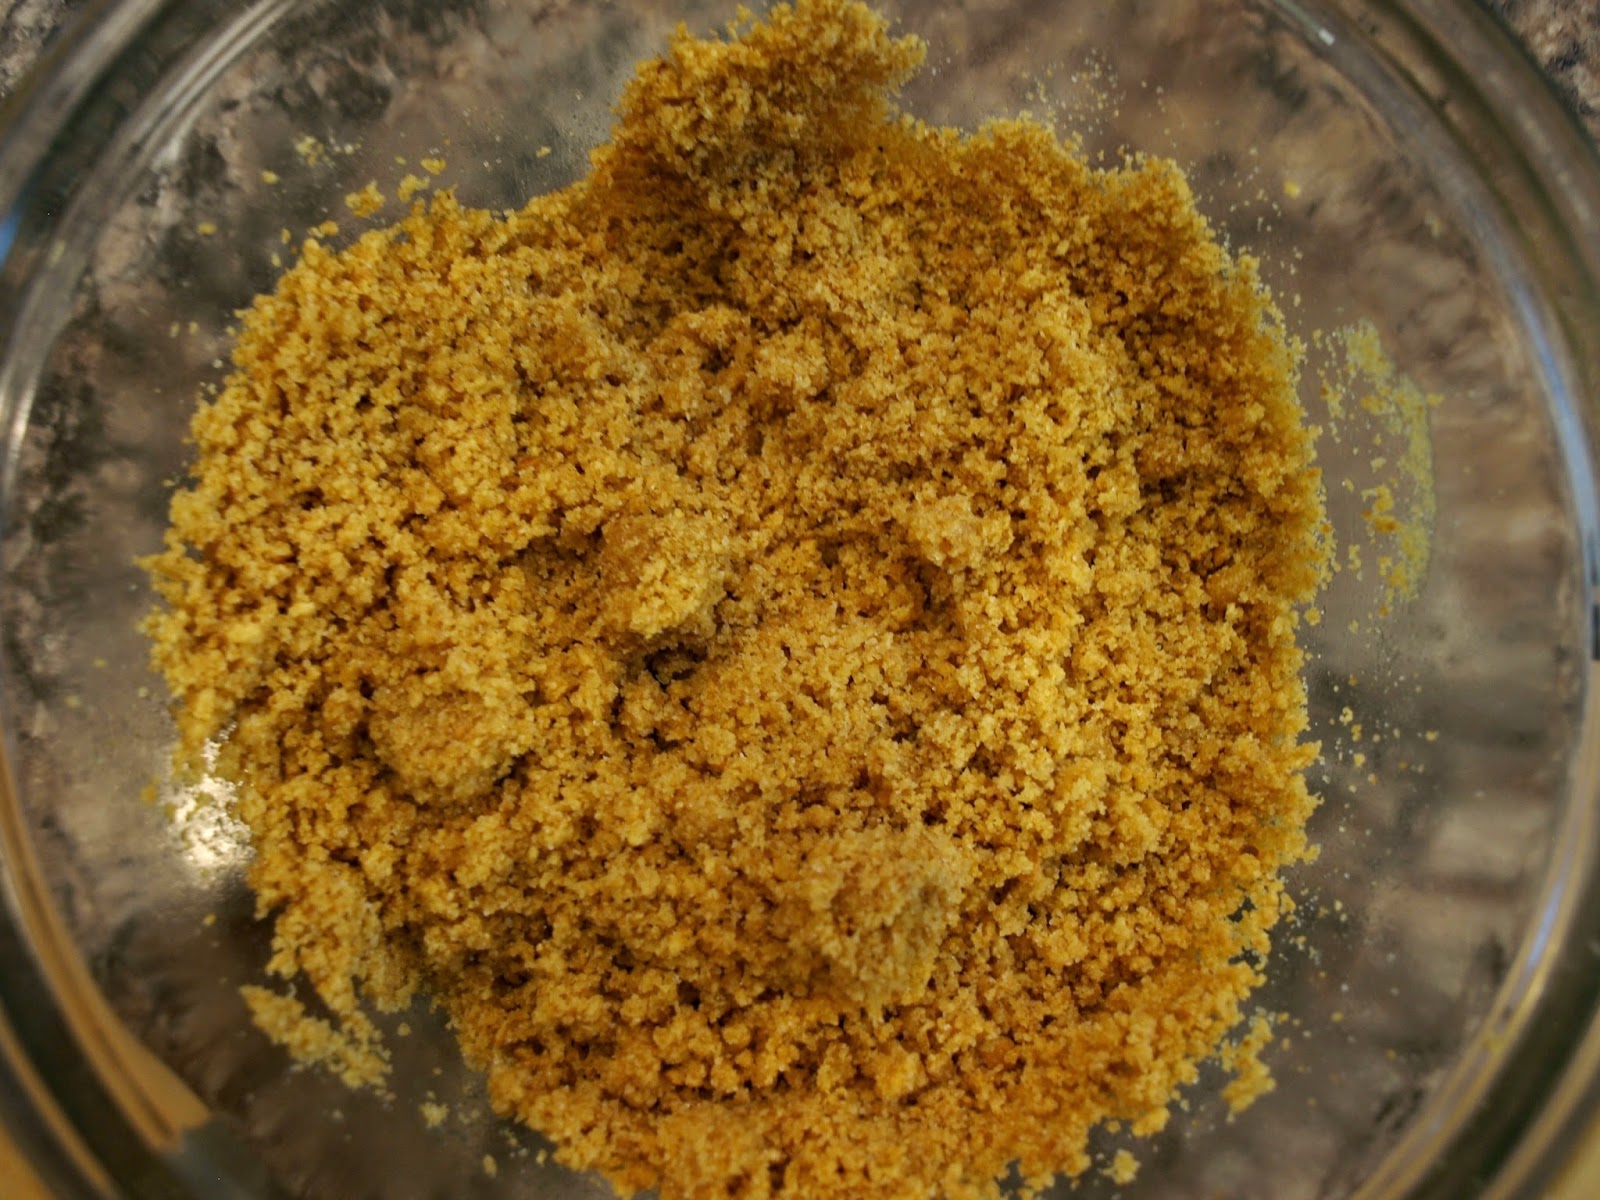
Now to make the graham cracker crust dust.


Ingredients:
1.5 cups of Graham Cracker Crumbs
5 Tbs of Sugar
1 stick of butter

Preheat oven to 350 degrees

Mix together the sugar and graham crackers  until well blended


Melt the stick of butter and add to the dry ingredients.  The mix will look crumbly.


Press into the bottom of a 10” round pan


Bake for 8-10 minutes and let cool completely

Once the crust is cool, break into pieces and place in a clear bag.  LIGHTLY crumble the pieces with your hands.  You want clumps and crumbs, so don’t Hulk smash it.


Store in your plastic bag until ready to use!  


To assemble the goodness, start with the graham cracker crust dust on bottom, then pudding, then pie filling.  Keep this going until you reach your desired number of layers.  Then sprinkle some more graham cracker crust dust on top and enjoy.  


The best part about this dessert is that you keep all parts separate and just assemble when you need a sugar rush.  It feels like a special occasion even if you just cleaned sharpie off of a wall while in sweats and no bra 5 minutes earlier.  That’s what I’m talkin’ about.  

Enjoy!

-Crystal-