
St. Patty's day is a perfect excuse to make up some rainbow crayons. You might want to try and layer colors or just have a mod podge of color in your new crayons. During the summer you could use metal cans and if you live in one of those unfortunate hot spots melt your crayons outdoors to avoid heating up the oven.
What you need: broken crayons, old muffin tin or silicone cupcake liners you are willing to sacrifice, a source of heat, and a little time.

If you can get one, a super cute assistant helps too.

For our activity we wanted to create more of a layered crayon so I had S sort the colors with a trusty piece of scrap paper near by to help figure out those dark colors. While he did that, I pre-heated the oven to 325 F.


The Sorting
After we sorted our crayons, we then broken them into smaller pieces. The smaller they are the quicker they will melt. Uniformity can help with even melting but I don't mind lumps in these crayons. Texture for toddler/preschooler hands to grip.


Hard at work
Broken Pieces
I don't have an old muffin tin so I sacrificed several cupcake liners that haven't really getting much use. We decided we were going to experiment a bit. In one liner, I layered broken crayons into our rainbow. In another, I put a single layer of red. Both when into the oven.


Layered large Crayon
Layer by Layer Crayon
Ever 2-4 minutes I check these to see how they are melting. After about 4 minutes our red layer was ready to come out of the oven. BE CAREFUL!!! THE MELTED WAX IS HOT!!!!!! It sat on the table to cool, while orange and yellow took a spin in the oven.


Large Crayon Melt Check
Melty Red Layer
4 minutes later and yellow and orange were ready to be poured. CAREFULLY, I pulled out the the orange and yellow. Taking my original red layer still in the liner I poured the orange on top making sure the orange met with the sides of the liner. Set the red/orange layer to the side as I pulled out the yellow. You can put your re/orange layer in the fridge or freezer to aid in a quick set but I opted for just pouring the yellow right on top as the orange had already started setting just sitting on the counter. Green, blue and purple. Went into the oven for 4 minutes and the same process continued. I did have to pop the purple back into the oven for a couple of seconds as it had cooled as I poured the green and blue.

Pouring Orange
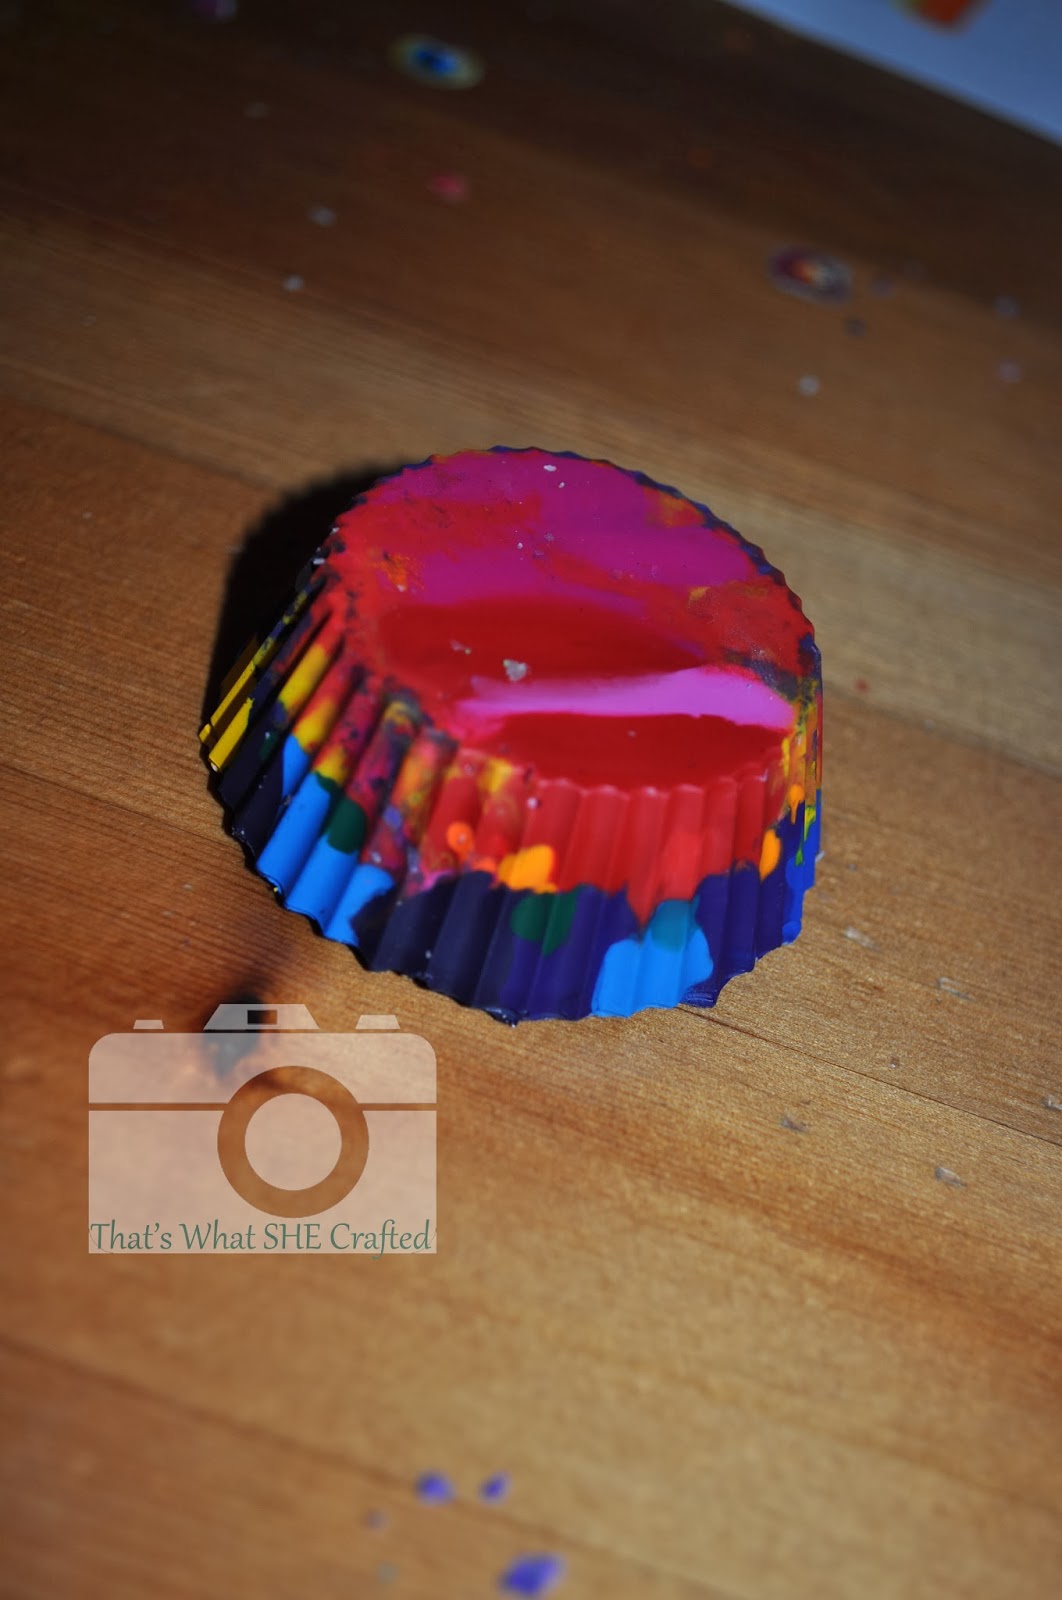
The big layered crayon took about a total of 16 minutes to melt. When I took it out and finished the melt by layer crayon, I stuck both in the fridge for cooling as there was an impatient preschooler who was ready to see his new crayons. So impatient in fact he tried to grab the big layer crayon before it was set and disturbed the color layers/set so it came out more mixed then it might have been if he had left it alone.
Once the melted crayons loose their jiggle upon moving the mold/tin, a gentle touch to the center of the crayon should let you know it has completely set. If there is give to the center continue to let it sit. If it is a solid center, pop it out of the mold or muffin tin. New Crayons!!!

Once the melted crayons loose their jiggle upon moving the mold/tin, a gentle touch to the center of the crayon should let you know it has completely set. If there is give to the center continue to let it sit. If it is a solid center, pop it out of the mold or muffin tin. New Crayons!!!
Layered in one mold
Built Layer by Painstaking Layer
My favorite way to do these crayons is to just put whatever colors you have in and let them come out as it is. It's especially fun if you have some fun crayons (metallic ones were a hit when I was in the 3rd grade...). Breaking them in half and then swapping with a friend in class was something I looked forward to when my 3rd grade teacher made these with the whole classes' broken crayons. Oh to be eight again.

Clean up. Pop out any residual wax/crayon after it has cooled. Then soap, water, and a little scrub action to get off any leftover bits of crayon.
He likes them!
Clean up. Pop out any residual wax/crayon after it has cooled. Then soap, water, and a little scrub action to get off any leftover bits of crayon.
Hope you have fun making your own crayons and memories!
Viever
Perfect! I'll do this for St patty days presents for ali's school!
ReplyDeleteYay! Let us know how they came out for you and what the kiddies thought!
Deletethis sounds like a great idea for a gift bag!
ReplyDeleteThey would be a great party favor. Just the right size for a small gift bag and full of fun color- Viever
DeleteThese are so flippin' fun! My kids would love this!
ReplyDelete