CraftingCon Sew Along: Avengers Month

It's Avengers month over at CraftingCon.  I'm not a big comic book geek, but I do like a good action movie hunk.  So making Superhero goodness was perfectly fine with me.  I decided to do a two-fer and make some matchy-matchy sister/brother looks.  I'm digging the awesome here!


Ok, I know TECHNICALLY it's not Avengers, BUT we all know they made this fabric after Marvel and DC.  Let's not pretend here.  There are like 3 Captain America versions on this fabric so yeah.  I'm counting it!

For my girl hero, I made the new AllSpice dress being released by Paisley Roots on September 1st 2014.  Stalk her shop...you want to. Don't-cha love the pintucks?  All heroes need pintucks.  There will be more about this dress next week...stay tuned!


For the boy, I made the bowling shirt by Scientific Seamstress.  My boy has JUST entered the 3/4 size range and as much as I'm in denial, it's true.  Mommy's little crime fighter is growing up.  ::Sniff:::Sniff::


FYI these outfits are perfect for using your super powers, whether it be the power of flight or the power of KUNG FU!  KAPOW!


And because Avengers don't just work alone...


-Crystal-

Back to School Button Down

My little boy starts Pre-K on September 1st which seems SO late compared to what we are used to!  Back in California we would have already started and had a few weeks under our belt.  In any case, S is VERY excited to get back to school so he can make some more friends.

The last time I did a fabric splurge, S picked out this camouflage dinosaur fabric that was on the discount table.  When we got home S was all excited for me to make something for him.  Sad for him that I still had a tester on my sewing table for his sister.  Quickly finished that up and then started looking through my patterns.

I found my Sis Boom Ethan I was looking for and downloaded it so I could get started right away.  To my surprise I also found 3 other patterns (Katie Fancy Pants, Judy Fancy Pants, and Tommy Boxers) I purchased during one of the sales that I forgot I had purchased!  I know what I'll be sewing up for the kids, Mr. Viever and myself in the next few weeks!


Wooden Ruler Growth Chart DIY/Tutorial

I have wanted one of those ruler growth charts since Mr. Viever and I saw them at a "hometown fair." We looked at them and both loved them but couldn't bring ourselves to spend the $80 on it when we were fairly certain it could be something we did on our own.  Two kids and several years later.  I finally got to making it.  Partially, because I was reminded on our move up to Seattle while staying at a friend's house who had theirs hanging in their hallway (looking at you Amber).

Materials used for this project (alternative ideas at the bottom)
8ft x 9in x 1.5 in wood board
150, 180, and 220 grit sandpapers
Cloth diaper/rag
Varathane Stain + Ploy in Golden Oak
Gloves
Behr Weather Proofing Wood Stain & Sealer in Grey
Behr Marque in an Aqua/Robin Blue
Small Paint brushes
Rust-Oleum Ultra Cover Clear Gloss Spray Can
D rings
Paper/Printer


It's Parfait-tay Time!


Things are busy for us during the summer over here at That’s What She Crafted and projects take a back seat to vacations and back to school shenanigans.  With all of this busy-ness, one needs a sweet escape every once in a while.  I like my desserts to be super delicious and super fast to make.  Today, I’m going to share a snack recipe with you because it’s my Parfait-ty and I’ll bake if I want to.  Whomp whooooooomp.


This raspberry cheesecake pudding parfait is made up of things you prepare one time and assemble and enjoy throughout the week.  You can change it up in true parfait fashion switching pudding flavors and pie fillings, but this is the combination that I ADORE.   We’ll start with the simple stuff: Raspberry Pie filling and Cheesecake flavored pudding.


Open a can of Raspberry pie filling and place in the refrigerator in an airtight container.  I leave it in overnight to get it nice and chilled. 

Prepare one package of Jello brand cheesecake flavored pudding- stovetop or instant- per the directions on the box.  Cover and place in the refrigerator in an air tight container until well chilled.

Now to make the graham cracker crust dust.


Ingredients:
1.5 cups of Graham Cracker Crumbs
5 Tbs of Sugar
1 stick of butter

Preheat oven to 350 degrees

Mix together the sugar and graham crackers  until well blended


Melt the stick of butter and add to the dry ingredients.  The mix will look crumbly.


Press into the bottom of a 10” round pan


Bake for 8-10 minutes and let cool completely

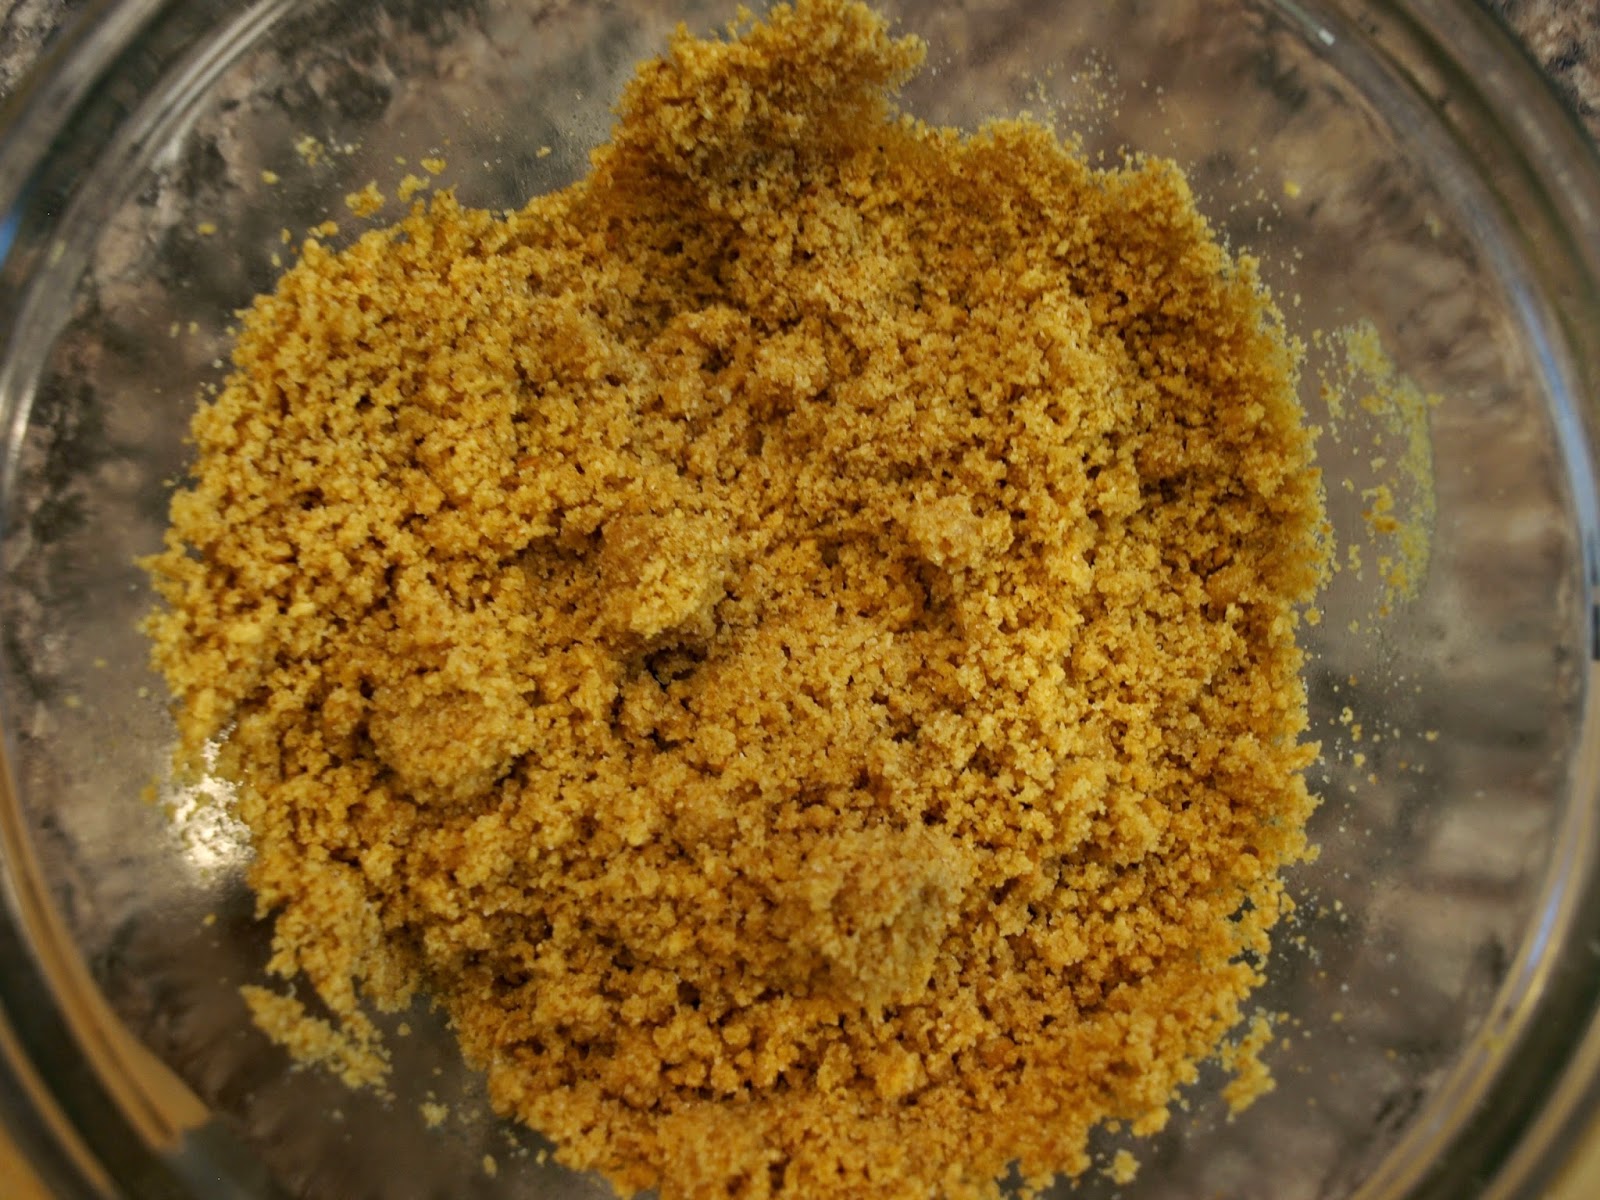
Once the crust is cool, break into pieces and place in a clear bag.  LIGHTLY crumble the pieces with your hands.  You want clumps and crumbs, so don’t Hulk smash it.


Store in your plastic bag until ready to use!  


To assemble the goodness, start with the graham cracker crust dust on bottom, then pudding, then pie filling.  Keep this going until you reach your desired number of layers.  Then sprinkle some more graham cracker crust dust on top and enjoy.  


The best part about this dessert is that you keep all parts separate and just assemble when you need a sugar rush.  It feels like a special occasion even if you just cleaned sharpie off of a wall while in sweats and no bra 5 minutes earlier.  That’s what I’m talkin’ about.  

Enjoy!

-Crystal-

Paisley Roots Saffron Twirl: Pattern "Somersaults"

Yo peeps!  I had my own blog and now I don't.  There were some pretty cool tutorials over there and now they're not available, so I'm slowly bringing them to this awesome blog.  First up, some Saffron Twirl dress mods!   I am so happy with the way these dresses came out! I'm going to share my tiny flips of this pattern- they're more like pattern "somersaults" actually.  We're quite a ways from the pattern Olympics.  You ready?!?!?

***Excuse the weird photo editing.  These pics were taken before I knew how to shoot well and edit like a boss.  It's a little painful, but it's all I've got right now.  Power through.  Just power through***


**********Somersault #1: The teardrop applique neckline********** 

 The only thing I added on my first dress was the teardrop appliques. You're going to need to print out this free template I put together for you. You're welcome. You know you thanked me. Make sure to print it at 100% or actual size...whichever you do normally for pattern printing. You can always increase or decrease these sizes to suit your taste, but my way is usually the best. As far as your method of applique, you can do it however you normally do it. I like to trace my shapes on to Wonder Under (write on the smooth side) and follow the manufacturers instructions for ironing it on.
 I measured out 5/8" from the edge of the raw neckline on the bodice front. Why? Because 3/8" is the SA and I gave myself 1/4" extra for any mistakes. I didn't mark on my fabric because I hate that. I just laid my clear acrylic ruler on my fabric. Then I placed my largest drop down on the center with the point touching the line (the edge of my ruler). Once I was satisfied with the placement, I ironed it into place (yay for sticky, wonderful Wonder Under). I eyeballed the placement of the rest of my drops, making sure the points all touched the line and were evenly spaced. Ironed those suckers down too. They were all like "what!?!?" Then I zigzagged around each drop. Once that's all done, you just sew the dress up as directed and it'll turn out PURTY.  


********** Somersault #2: Skirt band and contrasting ties********** 


 For the contrasting ties....I used two fabrics. Yeah, that's all. Tutorial over! For the Band on the bottom I just used math. THESE MEASUREMENTS WERE FOR THE SIZE 4! The math will be the same, but the final pieces of the larger skirt section will be larger or smaller based on the size you make. My skirt height was 16". I picked 4" for the band height because I wanted a finished band of 3.5" after the hem (hem is 1/2" total). Soooooo 16-4=12. Give yourself a sticker. Now add on SA to each piece since you have to attach them to one another.... and you have one piece that's 12 3/8" tall and one that's 4 3/8" tall. WHEW! All of that addition...making kindergartners sweat.

Now put your band on the bottom of your skirt RST and sew using your SA. Finish off that seam with a serger or zig-zag and press the seam up. Iron your seam up and top-stitch into place. Now you have a 16" tall skirt piece just as the pattern calls for.


Sew up your dress using these new skirt pieces and you're done.  WOO HOO!!!!  Winning all over the place.


You can get the Saffron dress HERE and make sure to "like" Paisley Roots on Facebook.  You can like her in real life, too.  She's a pretty cool person.  She's also one of the SHEs so, yeah.

-Crystal-

Tobago Babies


Hey everyone!  It’s still 9,000 degrees here and while everyone starts up their Autumn and Winter sewing, I’m still on the tank train.  Even sewing long sleeves makes my pits start dripping and my palms start warming up like little portable ovens.  We didn’t even hit long-sleeve temps in winter last year, so tanks are a fair option until about mid-November.  Luckily one of my totes fave designers (Carla with Scientific Seamstress and Sis Boom) came out with the best little tank ever about a month ago and the bonus is that it’s a fast sew.  WOO HOO!  Tobago, baby.  TOBAGO.


It’s taken me a while to write about the Sis Boom Tobago because they’re so easy to make that I didn’t even have that “I better freaking blog about this damn project that took half of my life” moment.  They just slipped into the girl’s wardrobe without stress or complications.  But they’re way too amazing to keep to myself, so you get to hear about ‘em.


The Tobago comes in lengths for top, tunic and dress which you pick by measuring.  There are two neckline options- curved and notched- and it also has a slit with button closure in the back for the smaller sized children, because toddlers have giant heads.  The sizes range from 3/6 months to 13/14 and then you have the women’s version (The Tortola releasing on its own in October.  It’s part of the road Trip Pattern Club now).  It’s a 30 minute project that anyone can sew.  The strap construction is GENIUS and if you join the Lab Group on FB, there’s a video to walk you through it.  This tank is made with WOVENS by the way.  It’s designed to be cut on the bias for drape, but I’ve made one with it on the grain and it’s still perfect.


I even made one for my boy...then he went and got all fabulous on me.


We’ll continue to bake here while you all wind down from the brief heat you’ve encountered.  I hate you all.

-Crystal-